Adding Crown Molding To Existing Kitchen Cabinets
Crown molding offers a sophisticated and elegant finishing touch to any kitchen. It can instantly elevate the appearance of cabinets, creating a more cohesive, polished look. The process of adding crown molding to existing kitchen cabinets, while seemingly daunting, is manageable with the right tools, knowledge, and planning.
1. Preparation and Planning
The first step in adding crown molding to your cabinets involves meticulous preparation. This ensures a smooth and successful installation process. Begin by gathering the necessary tools and materials, including a miter saw, a nail gun, finishing nails, wood filler, sandpaper, primer, and paint (matching the cabinets' existing color or a desired new hue).
Before taking measurements, consider the style of crown molding that complements your kitchen's existing décor. Various crown molding profiles exist, ranging from simple to complex, offering different levels of ornamentation. Choose a profile that aligns with your desired aesthetics and the overall architectural style of your kitchen.
Next, take accurate measurements of the cabinet areas where you intend to install the crown molding. Measure the length and width of each cabinet section. Ensure a precise fit by considering any existing molding, gaps, or irregularities. This meticulous measurement process guarantees a seamless installation.
Lastly, mark the location of the crown molding on the wall using a level. This step ensures that the molding is installed at a consistent height and level throughout the entire kitchen. Mark the placement of the molding on the wall using a pencil. This serves as a visual guide during the installation process.
2. Cutting and Installation
Now comes the crucial step of cutting the crown molding to size. Use a miter saw for precision cuts, ensuring accuracy at all times. The miter saw enables you to create precise angles for the molding, ensuring a seamless and visually appealing finish. Remember to account for the thickness of the crown molding when making cuts. Once the cuts are made, apply wood glue to the back side of the crown molding to secure it to the wall.
Next, begin installing the crown molding, starting from a corner. Align the molding with the marked line and use a nail gun to secure it to the wall. Drive the nails in at an angle to avoid splitting the molding. Apply a light touch to avoid damaging the existing cabinet surfaces. Alternatively, if using a nail gun is unavailable, use finishing nails and a hammer. Drive these nails with care to create a smooth and even finish.
Continue attaching the crown molding, ensuring that the pieces fit tightly against each other. Use wood filler to fill any gaps or imperfections between the molding sections and the wall. Once the wood filler has dried, sand it down to create a smooth surface.
3. Finishing Touches
The final stage involves finishing the crown molding to create a seamless and polished look. First, apply a primer to the molding. This step provides a smooth surface for painting and ensures that the paint adheres evenly. Allow the primer to dry completely before moving on to the next step.
Next, paint the molding with your desired color. Ensure you have adequate ventilation while applying the paint. Opt for a high-quality paint designed for trim work to achieve a durable and lasting finish. Apply several thin coats of paint, allowing each coat to dry thoroughly before applying the next. This layering technique ensures a smooth and even finish.
Once the paint has dried completely, inspect the molding for any imperfections or flaws. Use fine-grit sandpaper to smooth out any rough areas. Touch up any imperfections with paint to create a flawless finish.
Finally, step back and admire your completed project. Crown molding adds a touch of elegance and sophistication to your kitchen, enhancing its overall aesthetics. Its simple yet impactful addition elevates the appearance of the cabinets and creates a more cohesive and polished look.

How To Install Crown Molding On Cabinets Young House Love

Adding Kitchen Cabinet Moulding To Existing Cupboards Molding Crown Cabinets

How To Install Crown Molding On Cabinets Young House Love

Crown Moulding The Recently Rediscovered Kitchen Solution

My Designer Secret For Updating Old Kitchen Cabinets Maria Killam

Kitchen Update Extend Cabinets To Ceiling Emily S Project List

How To Install Crown Molding On Cabinets Young House Love
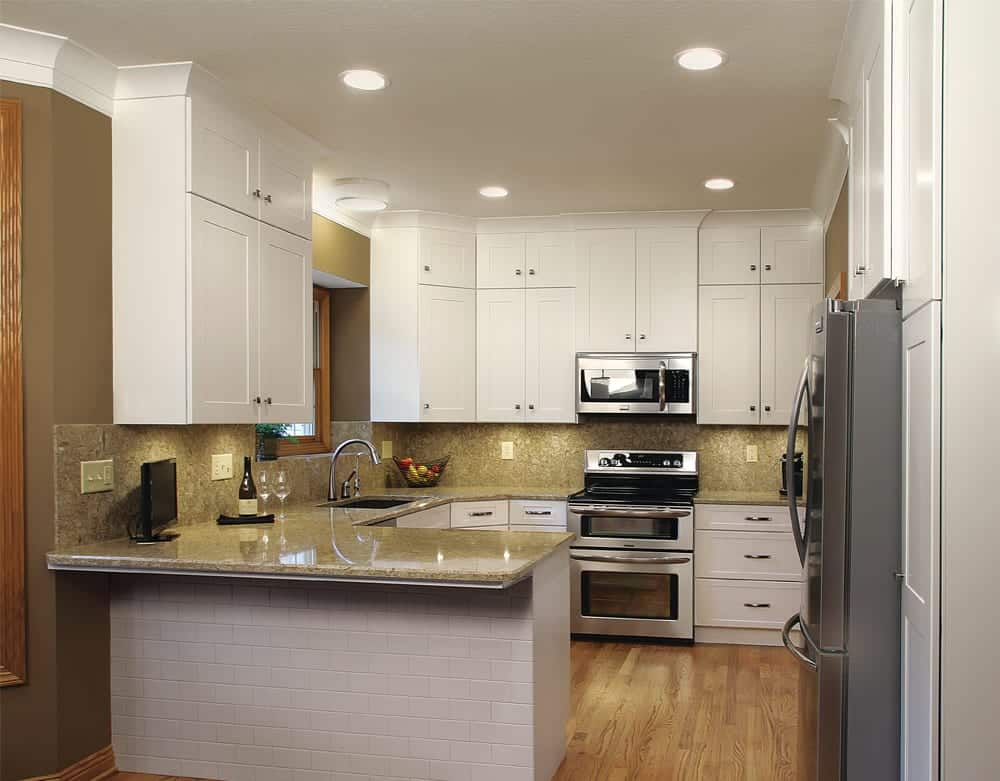
Extending Kitchen Cabinets To Ceiling American Wood Reface

11 Kitchen Cabinet Crown Molding Ideas For Your

Diy Kitchen Cabinet Upgrade With Paint And Crown Molding
Related Posts


