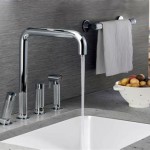
A kitchen sink sprayer hose helps to make washing dishes and cleaning up the sink easier. However, over time the hoses can become worn out and need to be replaced. This comprehensive guide will help you to easily and safely replace your kitchen sink sprayer hose, so you can get back to cleaning up with ease.
Safety First
Before you start, it is important to make sure that you have taken the appropriate safety precautions. Be sure to turn off the water supply to the sink before you start. It is also a good idea to wear gloves to protect your hands from any sharp edges or debris. Additionally, it may be helpful to have a pair of pliers, a basin wrench, and a bucket on hand to help with the process.
Removing the Old Hose
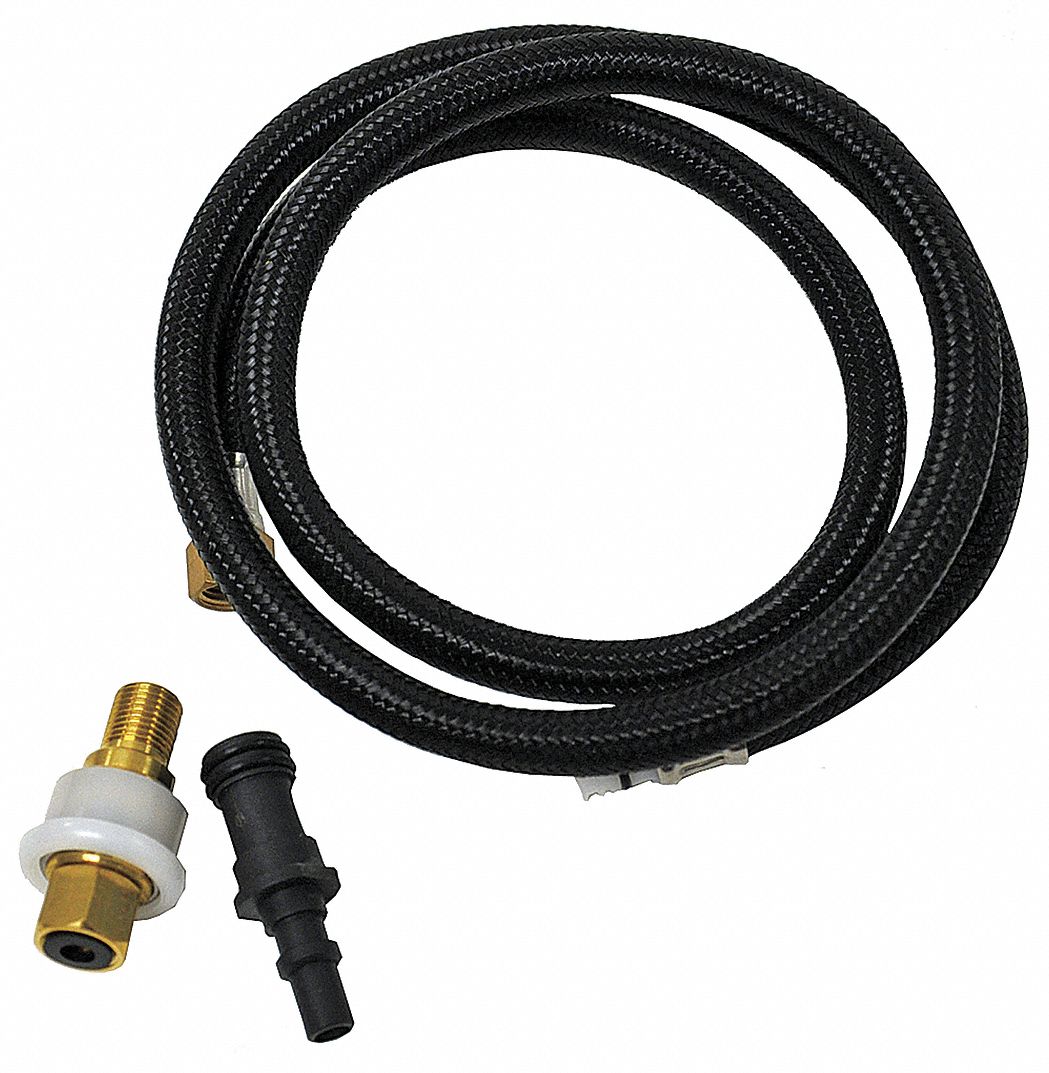
Once you have the appropriate safety precautions in place, you can begin removing the old hose. Start by finding the hose attachment point and unscrewing it. If you are having trouble, you can use the pliers to help. Once the attachment point is disconnected, you can then remove the old hose. You may need to use the basin wrench to help loosen the hose and remove it. Once the old hose is removed, you can clean any debris from the area.
Installing the New Hose
Now it’s time to install the new hose. Start by attaching the new hose to the attachment point. Be sure to tighten it securely. Once the hose is in place, you can then use the bucket to test if the connection is secure. If there are no leaks, you can then proceed to attach the other end of the hose to the sprayer. Again, be sure to tighten it securely. Once the connection is secure, you can then turn on the water and check for any leaks.
Conclusion
Replacing a kitchen sink sprayer hose doesn’t have to be a daunting task. With the right tools and safety precautions, you can easily and safely replace your kitchen sink sprayer hose. Once you have the new hose in place, you can enjoy the convenience of a functioning sprayer and get back to cleaning up with ease.


Related Posts


