Kitchen floor tiling is an excellent way to upgrade your kitchen and add a touch of style. Tiling a kitchen floor is a DIY project that anyone can take on and complete with the right tools and techniques. Here’s how you can tile your kitchen floor successfully.
Prepare the Floor
Before you start tiling the kitchen floor, you will need to prepare the surface. Check the floor for any loose tiles and remove them. If the floor is uneven, use a self-leveling compound to even it out. Make sure to fill any cracks, gaps, and holes with a sealant before you begin tiling.
Choose a Tile Pattern
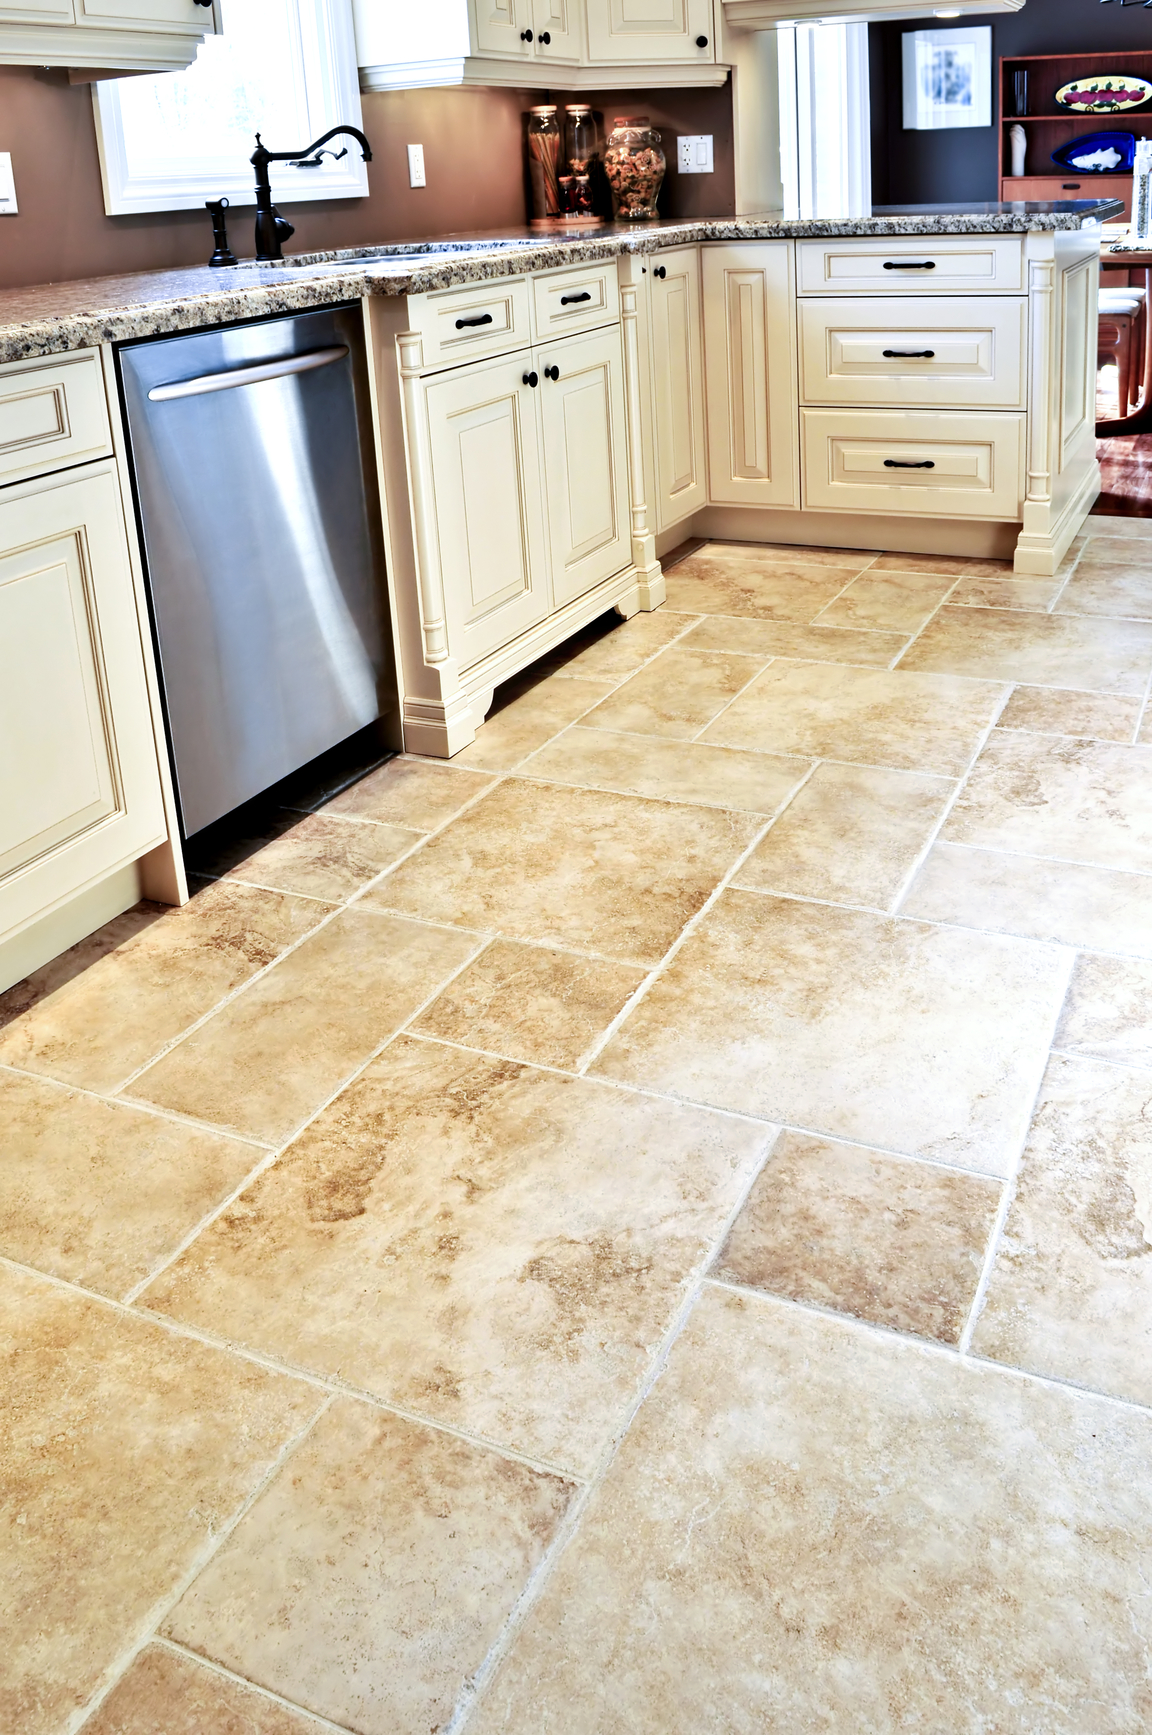
Once the floor is prepped, it’s time to choose a tile pattern. Popular patterns include herringbone, checkerboard, and diagonal. Consider the size of the room, the shape of the tile, and the overall design aesthetic when choosing a pattern.
Layout the Tile
Once you have chosen a tile pattern, you can lay out the tiles. It’s important to use spacers between the tiles to ensure a consistent grout line. You can also mark the layout with chalk lines or use a laser level to make sure the tiles are laid out evenly.
Install the Tile
Once the tiles are laid out, you can start installing them. Use a trowel to spread the thinset mortar onto the floor and press the tiles into the mortar. Make sure to check the tile placement before you move on to the next tile. Clean up any excess mortar with a damp sponge before it dries.
Grout the Tile
Once all the tiles are installed, it’s time to grout the gaps. Mix up a batch of grout according to the manufacturer’s instructions and apply it to the gaps between the tiles. Use a rubber float to spread the grout and to smooth out any ridges or air pockets. Let the grout dry for 24 hours before applying a sealant.
Seal the Tile
Once the grout has dried, you can seal the tiles. This will help protect the tiles from stains and make them easier to clean. Apply the sealant with a paintbrush or roller and let it dry according to the manufacturer’s instructions. Once the sealant is dry, your kitchen floor is ready to be enjoyed.


:max_bytes(150000):strip_icc()/ArmstrongMoselleValleyForestGreen-590c83e63df78c92831038c9.jpg)


![45+ Enchanting Kitchen Tile Flooring Image Collection Decornish [dot] com Grey kitchen floor](https://i.pinimg.com/736x/1d/9b/00/1d9b001e764aee007495b89967456b0e.jpg)

Related Posts

